


Smartphones, tablets and other mobile computing devices are becoming our go-to devices when it comes to getting things done, especially outside of the traditional office setting. They're just too convenient, and the increasing power packed into these gadgets means that some of them are worthy (or nearly worthy) of supplanting the laptops and desktops they once supplemented.
However, the smaller form factor of these devices, the "nomadic" nature in which they are used and the proliferation of different strategies (or inadequate ones) for securing these devices means that they create their own kinds of risks to your business data.
Given the risks, it’s important to adhere to strong security practices, especially if your device is personally managed and not administered by your company’s IT department. This slideshow features recommendations from The Information Assurance Mission at the NSA for securing your personally managed iPhone or iPad.
Click through for 10 recommendations for securing your personally managed iOS 4 devices, provided by The Information Assurance Mission at the NSA.

Always maintain physical control of your iOS device. All electronic devices are subject to physical attacks, but the portable nature of cellular phones and iPads puts them at particular risk. Publicly available tools allow an attacker with physical access to your device to bypass some of its security mechanisms.
The best protection against physical attacks is to ensure that your iOS device never falls into the wrong hands. Consider the risks of storing sensitive data on your device. This includes corporate information, credit card numbers, saved passwords, and personal data. If a mobile device falls out of your control, consider all the data contained on it compromised.

Always apply the latest software updates for iOS, as these include important security patches. These updates can only be applied through an Internet-connected personal computer running iTunes. It is the responsibility of the individual user to ensure that the device has the latest version of iOS and iTunes software. Regularly check for software updates for iOS and for iTunes. Both updates will occur each time your iOS device is synced with iTunes.
Only sync your iOS device or install iOS updates from a trusted computer.
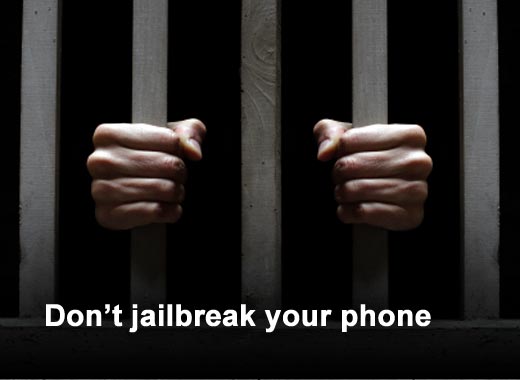
"Jailbreaking" is the term that refers to the process of modifying the iOS device's operating system in violation of the end-user license agreement. Jailbreaking significantly damages the device's ability to resist attacks because it disables the enforcement of code signatures, which is an important security feature. Jailbreaking an iPhone or iPad makes the attacker's job substantially easier. Most publicly released attacks targeted at iOS devices require that they first be jailbroken.
Another concern related to jailbreaking is the quality of the tools and applications provided by the jailbreaking community. These free applications are developed with little oversight and limited testing. They may include viruses or other malware, and they may inflict lasting harm on your device by breaking it permanently or corrupting your data.

The Auto-Lock feature makes the screen lock automatically after a specified inactivity period. Ensure that Auto-Lock is activated. A value of 3 minutes or less is recommended.
- Go to Settings > General > Auto-Lock
- Set "Auto-Lock" to 3 Minutes
By itself, Auto-Lock does not constitute a security feature, but when combined with Passcode Lock, it will deter a casual attempt to access your data. Use the Passcode Lock feature to assign a four-digit PIN to your iOS device. With the prompt time set to "Immediately," the device will always require entry of the correct PIN in order to unlock the screen.
- Go to Settings > General > Passcode Lock
- Set "Passcode Lock" to ON
- Set "Require Passcode" to Immediately
Note: On the same screen, turn off Simple Passcode to enable full alpha-numeric passwords.
For additional security, use the Erase Data feature to erase all user-created data after 10 failed passcode attempts. This feature also greatly increases the time between failed access attempts to slow down more persistent attackers.
- Go to Settings > General > Passcode Lock
- Set "Erase Data" to ON

When possible, avoid or limit the use of wireless networks. When not actively using wireless, turn it off to prevent any accidental exposure.
- Go to Settings > Wi-Fi
- Set "Wi-Fi" to OFF
Resist the temptation to use free Wi-Fi access points. These typically offer no protection for wirelessly transmitted data, meaning that anyone in the vicinity could intercept all traffic, transmitted or received. Instead, if it is absolutely necessary to use a wireless network, choose a known one and ensure that its traffic is encrypted, preferably with WPA. Protected networks are designated in the list of available networks by a picture of a lock next to their names.
To avoid accidentally joining an untrusted network, turn off "Ask to Join Networks." This will not prevent your iOS device from reconnecting to networks it has joined in the past, but it will require future wireless connections to be made manually by selecting a network from a list.
- Go to Settings > Wi-Fi
- Set "Ask to Join Networks" to OFF
Note: Even if this setting is disabled, your phone will still automatically rejoin previously visited networks that have not been explicitly forgotten.
Another precaution is to choose "Forget this network" at the end of every wireless session. This will reduce the chance that your iOS device may accidentally join another wireless network with the same name. It is important to select this option before leaving the physical range of the network in question. Otherwise, the network will no longer appear in the list of available networks, and it will not be possible to remove it.
- Go to Settings > Wi-Fi
- Select a network from the list
- Set "Forget this network"

Bluetooth should only be turned on when absolutely necessary. When not in use, it should be disabled to prevent other devices from discovering your iOS device and attempting to connect to it.
- Go to Settings > General > Bluetooth
- Set "Bluetooth" to OFF

Location Services can be used by applications on your iOS device to track your location. Unless there is some critical need for applications to know your location at all times, Location Services should be turned off, or toggled on and off only as needed.
- Go to Settings (Settings > General on iPads)
- Set "Location Services" to OFF
Applications that use Location Services will ask to use Location Services the first time they are launched. Consider these requests carefully and only enable Location Services when absolutely necessary.
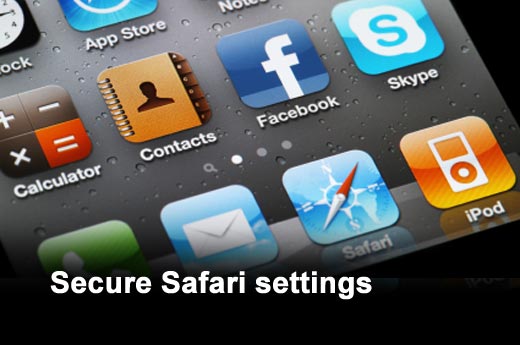
AutoFill should be disabled in Safari. This will prevent Safari from storing potentially sensitive contact information on your device, such as usernames and passwords.
- Go to Settings > Safari
- Set "AutoFill" to OFF
JavaScript support can be disabled to prevent maliciously crafted JavaScripts from harming your iOS device. However, disabling JavaScript can make many websites unusable, so it may be necessary to leave it on. If it is practical:
- Go to Settings > Safari
- Set "JavaScript" to OFF
Cookies can compromise personal information and browsing habits. To prevent this from happening, disable them when possible or set your iOS device to only accept cookies from visited sites. The following setting is unlikely to break the functionality of most websites:
- Go to Settings > Safari > Accept Cookies
- Set "Accept Cookies" to From visited

Ensure that all Mail connections are encrypted. This requires that your email server support encryption, which most do. Without encryption support, your messages will be sent in the clear, which could make it possible for someone to intercept and read them.
- Go to Settings > Mail, Contacts, Calendars
For each account in the list:
- Go to SMTP, select a server name from the list
- Set "Use SSL" to ON
For each account in the list:
- Go to Advanced
- Set "Use SSL" to ON
When accessing webmail through Safari, make sure the login page is encrypted before entering your data. If it is encrypted, the URL will start with "https" instead of "http," and a lock icon will appear to the right of the URL.
Remote image loading should be disabled in Mail. This can prevent maliciously crafted images from harming your iOS device. It will also prevent attackers from linking your network address information to your email account.
- Go to Settings > Mail, Contacts, Calendars
- Set "Load Remote Images" to OFF

With the release of iOS 4, some security settings that could only be applied through the iPhone Configuration Utility can now be found in Settings > General > Restrictions. This includes disabling the camera and built-in iOS applications like Safari and YouTube.
For other important settings, such as the ability to force encrypted backups, set more complex PINs, and enable remote wipes, the iPhone Configuration Utility is a free tool that Apple provides directly through its website http://www.apple.com/support/iphone/enterprise/. Full instructions on how to use this tool are provided at the same location.